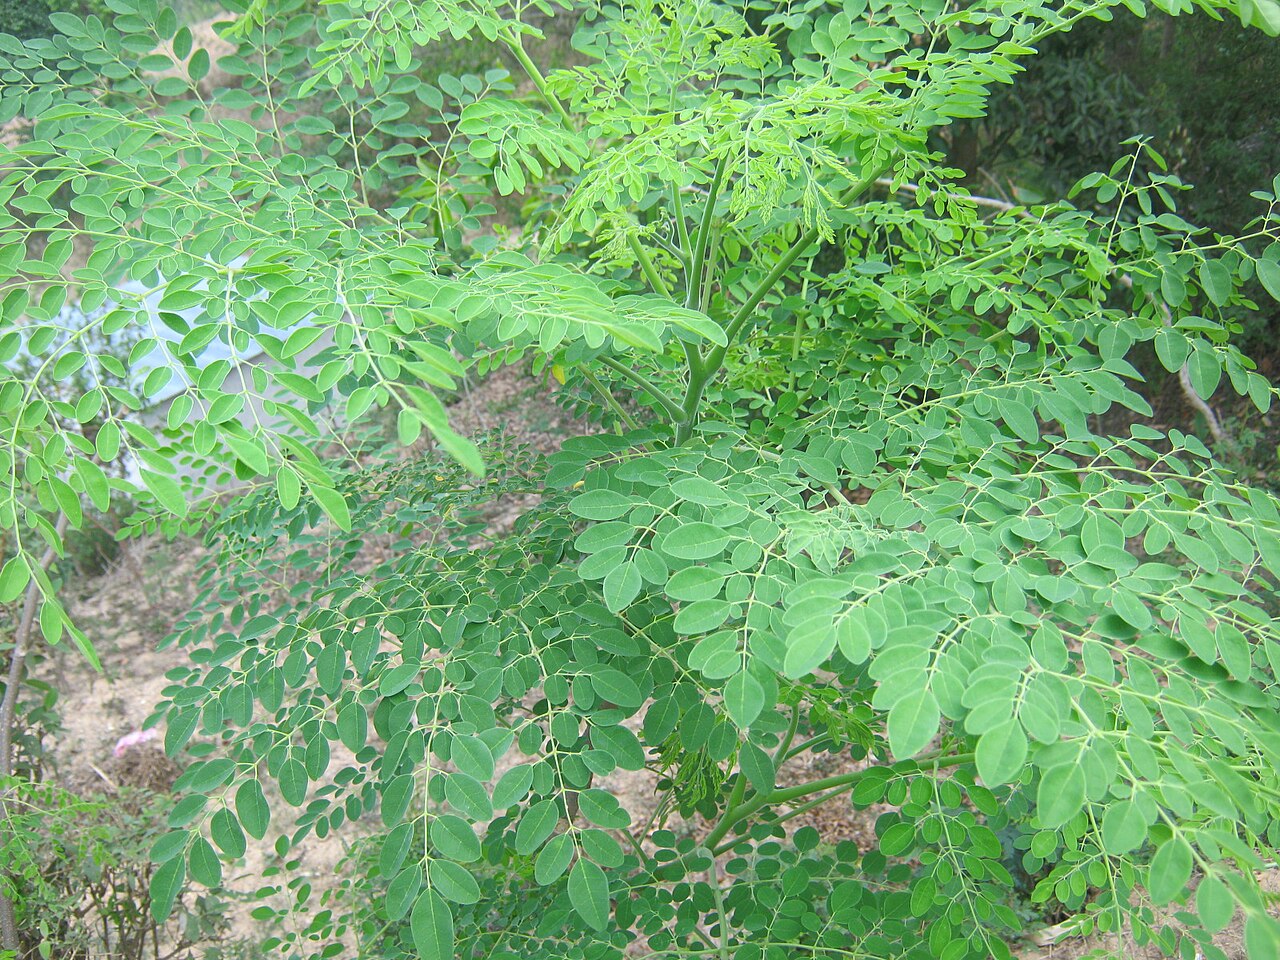
Moringa oleifera, commonly known as the Drumstick Tree, Horseradish Tree, or Miracle Tree, is a fast-growing, drought-resistant tree native to the Indian subcontinent. Renowned for its nutritional and medicinal benefits, every part of the Moringa tree is useful, from its leaves, which are rich in vitamins and minerals, to its seeds, which have water-purifying properties. This versatile tree can be propagated through various methods, including seeds, stem cuttings, and air layering. Each propagation technique offers unique advantages, making it possible to cultivate Moringa oleifera in diverse climates and settings.
Moringa oleifera (Drumstick Tree) Propagation Methods
This structured overview covers the propagation methods for Moringa oleifera, offering practical insights and guidance for both novice and experienced gardeners interested in cultivating this fast-growing and nutritionally rich tree.
1. Seed Propagation
Seed propagation is the most common and straightforward method for growing Moringa oleifera, suitable for both large-scale cultivation and small home gardens.
1.1. Seed Collection
- Identifying Mature Seeds: Seeds are harvested from dry, mature pods. The pods are typically ready for harvest when they turn brown and dry on the tree.
- Seed Extraction: Open the pods and remove the seeds. The seeds are round and have a light, woody covering.
- Seed Cleaning: Clean the seeds by removing any remaining pod debris and ensure they are dry before storage or planting.
1.2. Sowing and Germination
- Pre-Soaking: For quicker germination, soak the seeds in water for 24 hours before planting. This helps to soften the seed coat and encourage faster sprouting.
- Sowing Seeds: Plant the seeds directly in the ground or in pots filled with a well-draining soil mix. Sow them about 2-3 cm deep.
- Germination Conditions: Maintain a warm environment (25-30°C or 77-86°F) and keep the soil consistently moist. Avoid waterlogging, which can cause the seeds to rot.
- Germination Time: Moringa seeds typically germinate within 7-14 days under optimal conditions.
- Seedling Care: Once the seedlings emerge, provide them with full sunlight and regular watering. Transplant them into larger pots or their permanent location when they have grown to a manageable size (about 30 cm tall).
2. Stem Cuttings
Stem cuttings are an effective method for propagating Moringa oleifera, especially in regions where quick establishment and growth are desired.
2.1. Cutting and Preparation
- Selecting Cuttings: Choose healthy, mature branches that are at least 1-2 years old. Each cutting should be 45-60 cm long and 2-5 cm in diameter.
- Cutting Technique: Use a sharp, sterilized knife or saw to cut the branches at a 45-degree angle. Make sure the cuttings have a few nodes and healthy bark.
- Preparing Cuttings: Remove the leaves from the lower half of the cuttings to reduce water loss and focus energy on root development.
2.2. Rooting and Planting
- Rooting Medium: Plant the cuttings directly into the ground or in large containers filled with well-draining soil. Insert the cut end about one-third into the soil.
- Rooting Environment: Place the cuttings in a sunny location. Moringa cuttings root best in warm conditions (25-30°C or 77-86°F).
- Rooting Time: Roots typically develop within 4-6 weeks. During this time, keep the soil moist but not waterlogged.
- Transplanting: Once the cuttings have rooted and started to produce new growth, they can be transplanted to their final location.
3. Air Layering
Air layering is a less common but effective method for propagating Moringa oleifera, particularly for larger, mature plants.
3.1. Air Layering Process
- Selecting a Branch: Choose a healthy, vigorous branch that is at least 1-2 years old.
- Preparing the Branch: Make a ring cut around the branch (girdling) about 15-30 cm below the tip. Remove a strip of bark to expose the inner wood.
- Applying Rooting Medium: Apply rooting hormone to the exposed area and wrap it with moist sphagnum moss. Cover the moss with plastic to retain moisture and secure it with ties or tape.
3.2. Root Formation and Separation
- Monitoring: Check the air layer periodically to ensure it stays moist and look for root development. This process can take several months.
- Separation and Planting: Once a substantial root system has developed, cut the branch below the rooted area and plant it in a pot or directly in the ground.
4. Transplanting and Initial Care
Regardless of the propagation method used, proper transplanting and initial care are crucial for the successful establishment of Moringa oleifera.
4.1. Preparing the Planting Site
- Soil Requirements: Moringa prefers well-draining, sandy or loamy soil. It can tolerate poor soil but thrives in neutral to slightly acidic conditions (pH 6.2-7.0).
- Site Selection: Choose a sunny location with plenty of space, as Moringa can grow rapidly and reach heights of up to 12 meters (40 feet).
4.2. Planting and Watering
- Transplanting: Dig a hole large enough to accommodate the root system or cutting. Place the plant in the hole, backfill with soil, and water thoroughly.
- Watering: Water the young plants regularly until they are well established. Moringa is drought-tolerant but benefits from consistent moisture during its early growth stages.
4.3. Fertilization and Pruning
- Fertilization: Apply a balanced fertilizer or organic compost to promote healthy growth. Moringa generally has low fertilizer requirements.
- Pruning: Regularly prune Moringa to encourage a bushy growth habit and prevent it from becoming too tall and leggy. Pruning also helps to promote the production of leaves and pods.
Conclusion
Propagating Moringa oleifera through seeds, stem cuttings, and air layering provides various methods to suit different growing conditions and objectives. Whether aiming for large-scale cultivation or adding this versatile tree to a home garden, understanding these propagation techniques is essential. Moringa’s rapid growth, nutritional benefits, and resilience make it a valuable addition to any landscape, and by mastering its propagation, gardeners can ensure a steady supply of this “miracle tree” for years to come.
Share this article


