Nerium oleander Propagation Methods
This comprehensive guide equips you with the knowledge to propagate and care for Nerium oleander, ensuring that these robust and beautiful plants thrive and bring lasting beauty to your landscape.
Introduction
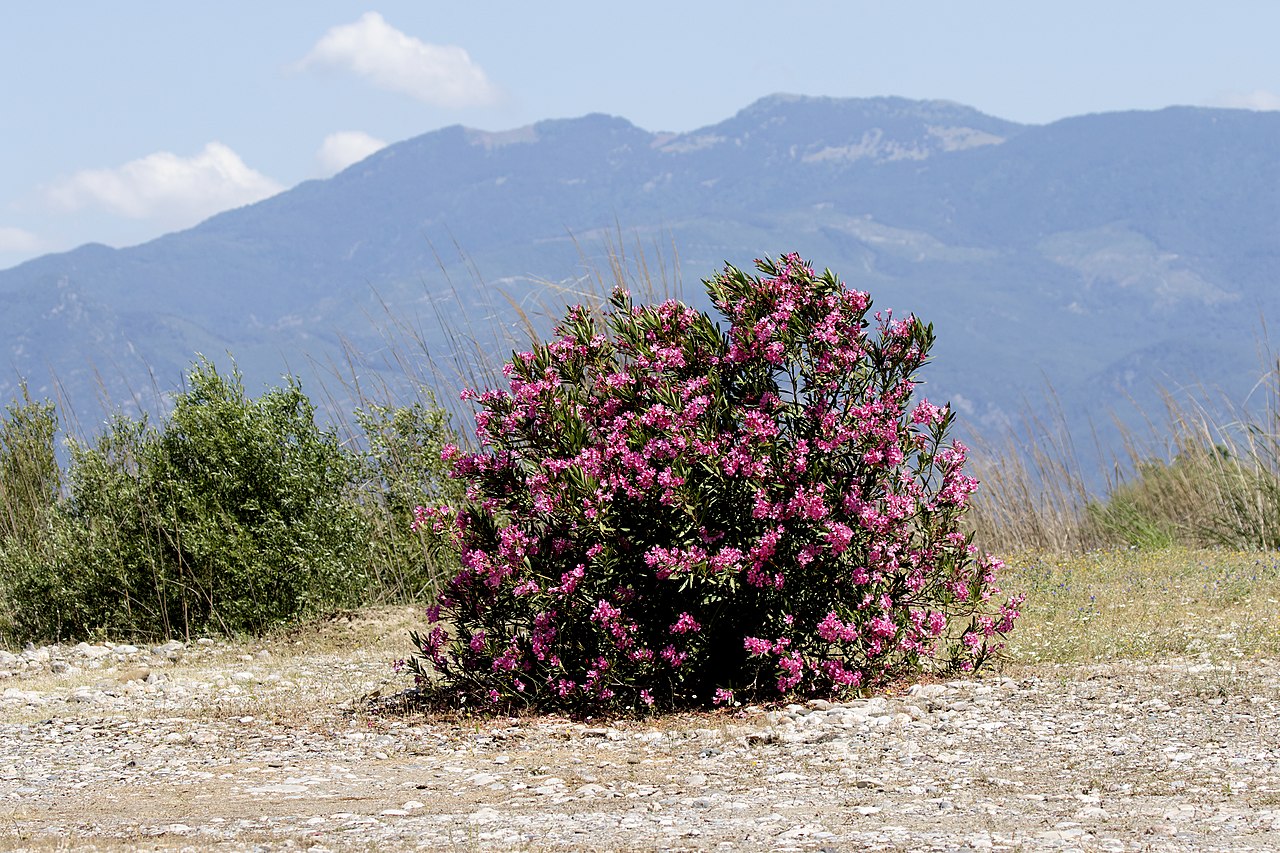
Nerium oleander, commonly known as Oleander, is a versatile and hardy evergreen shrub cherished for its attractive and fragrant flowers, which come in colors ranging from white and pink to red and yellow. Originating from the Mediterranean region, this plant is prized for its ability to thrive in a variety of conditions, including poor soils and drought-prone areas. Oleander is often used in landscapes as a decorative hedge, screen, or accent plant. While propagating Oleander can be rewarding, it’s essential to handle the plant with care due to its toxic nature. This guide explores the propagation methods for Nerium oleander, including seed propagation, stem cuttings, layering, and division, providing you with the knowledge to cultivate and enjoy this resilient and beautiful shrub.
1. Seed Propagation
Seed propagation of Oleander is less common due to its slower growth rate and the variability of seedlings compared to vegetative propagation. However, it offers an opportunity to produce a large number of plants and explore genetic diversity.
1.1. Seed Collection and Preparation
- Harvesting Seeds: Oleander produces seed pods after flowering. Allow these pods to mature and dry on the plant. Once they are dry and begin to split, collect the pods before they release the seeds.
- Extracting and Cleaning Seeds: Open the dried pods and remove the seeds. They are typically light and fluffy, attached to tufts of silky hairs. Remove these hairs and clean the seeds thoroughly.
- Storing Seeds: Store the cleaned seeds in a cool, dry place until ready for sowing. They can remain viable for several months under proper conditions.
1.2. Sowing and Germination
- Preparing the Soil Mix: Use a well-draining seed-starting mix or a blend of peat and perlite. Fill seed trays or small pots with the mix and lightly moisten it.
- Sowing the Seeds: Sow the seeds on the surface of the soil and cover them lightly with a thin layer of the mix or vermiculite. Press gently to ensure good contact with the soil.
- Germination Conditions: Place the trays or pots in a warm, bright location with indirect light. Maintain a temperature around 75-80°F (24-27°C). Mist the soil regularly to keep it moist but not soggy.
- Germination Period: Seeds usually germinate within 2-3 weeks. Continue to keep the soil moist and provide good air circulation to prevent fungal growth.
- Transplanting Seedlings: Once the seedlings have developed a few sets of true leaves, transplant them into individual pots or directly into the garden. Harden them off gradually to outdoor conditions.
2. Stem Cuttings
Stem cuttings are the most popular and reliable method for propagating Oleander. This technique is favored because it produces new plants that are true to the parent, ensuring consistent flower color and growth habit.
2.1. Selecting and Preparing Cuttings
- Choosing Cuttings: Select healthy, non-flowering stems that are semi-hardwood, typically taken from late spring to early summer. Ideal cuttings are 4-6 inches (10-15 cm) long and include several nodes.
- Preparing the Cuttings: Use sharp, sterilized scissors or pruners to make a clean cut just below a node. Remove the lower leaves to expose a few nodes and reduce transpiration.
- Optional Use of Rooting Hormone: Dip the cut end in rooting hormone to encourage faster and more robust root development.
2.2. Rooting and Planting
- Rooting Medium: Fill small pots or trays with a well-draining mix of sand, perlite, and peat. Moisten the mix lightly.
- Inserting the Cuttings: Insert the cut end of each cutting into the soil, burying at least one or two nodes. Firm the soil gently around the base for support.
- Creating Optimal Conditions: Place the pots in a bright, indirect light location. Maintain high humidity by covering the pots with a plastic bag or using a humidity dome.
- Root Development: Keep the soil slightly moist and check for roots after 4-6 weeks by gently tugging on the cuttings. Roots should form, and new growth will indicate successful rooting.
- Transplanting Rooted Cuttings: Once the cuttings have established roots, transplant them into larger pots or their permanent garden position.
3. Division
Division is not typically used for Oleander as it does not form clumps or have underground structures that lend themselves to this method. Therefore, division is not a viable propagation technique for Nerium oleander.
4. Layering
Layering is an effective method for propagating Oleander, especially for gardeners who prefer a low-maintenance approach and wish to root plants directly in their intended location.
4.1. Preparing for Layering
- Selecting a Stem: Choose a healthy, flexible stem that can be bent down to touch the soil surface without breaking.
- Wounding the Stem: Make a small incision or remove a strip of bark on the underside of the stem where it will contact the soil. This promotes root formation.
4.2. Rooting the Layer
- Securing the Stem: Bend the wounded section of the stem down and bury it slightly in the soil. Use a small stone or a garden staple to hold it in place.
- Maintaining Moisture: Keep the soil around the buried section moist to encourage root development. Over time, roots will form at the contact point.
- Severing and Planting: Once roots have developed, typically after a few months, cut the stem from the parent plant and transplant the new plant into its desired location.
5. Transplanting and Initial Care
Successful transplanting and initial care are crucial for establishing healthy Oleander plants, whether propagated from seeds, cuttings, or layering.
5.1. Preparing the Planting Site
- Soil Preferences: Oleander thrives in well-draining soil with a pH between 6.0 and 7.5. If planting in heavy clay or poorly draining soil, amend it with sand or compost to improve drainage.
- Selecting the Location: Choose a sunny location with at least 6 hours of direct sunlight per day. Oleander can tolerate partial shade but performs best in full sun.
5.2. Planting and Watering
- Transplanting Process: Dig a hole slightly larger than the root ball of the plant. Space plants about 3-6 feet (1-2 meters) apart, depending on the desired size and spread.
- Watering Needs: Water the plants thoroughly after transplanting to help settle the soil around the roots. Maintain consistent moisture, especially during the establishment phase, but avoid waterlogging.
5.3. Fertilization and Pruning
- Fertilization: Feed the plants with a balanced, slow-release fertilizer in the spring. Oleander is not a heavy feeder, so avoid over-fertilizing, which can lead to excessive, weak growth.
- Pruning Practices: Prune Oleander in late winter or early spring to maintain shape and remove any dead or damaged wood. Wear gloves and protective clothing as the plant is toxic.
Conclusion
Propagating Nerium oleander through seeds, stem cuttings, and layering offers various methods to expand your collection of this attractive and durable shrub. Each propagation technique provides unique advantages, allowing you to explore different aspects of gardening and plant cultivation. By following these detailed steps, you can successfully grow and care for Oleander, enhancing your garden with its vibrant blooms and evergreen foliage.


