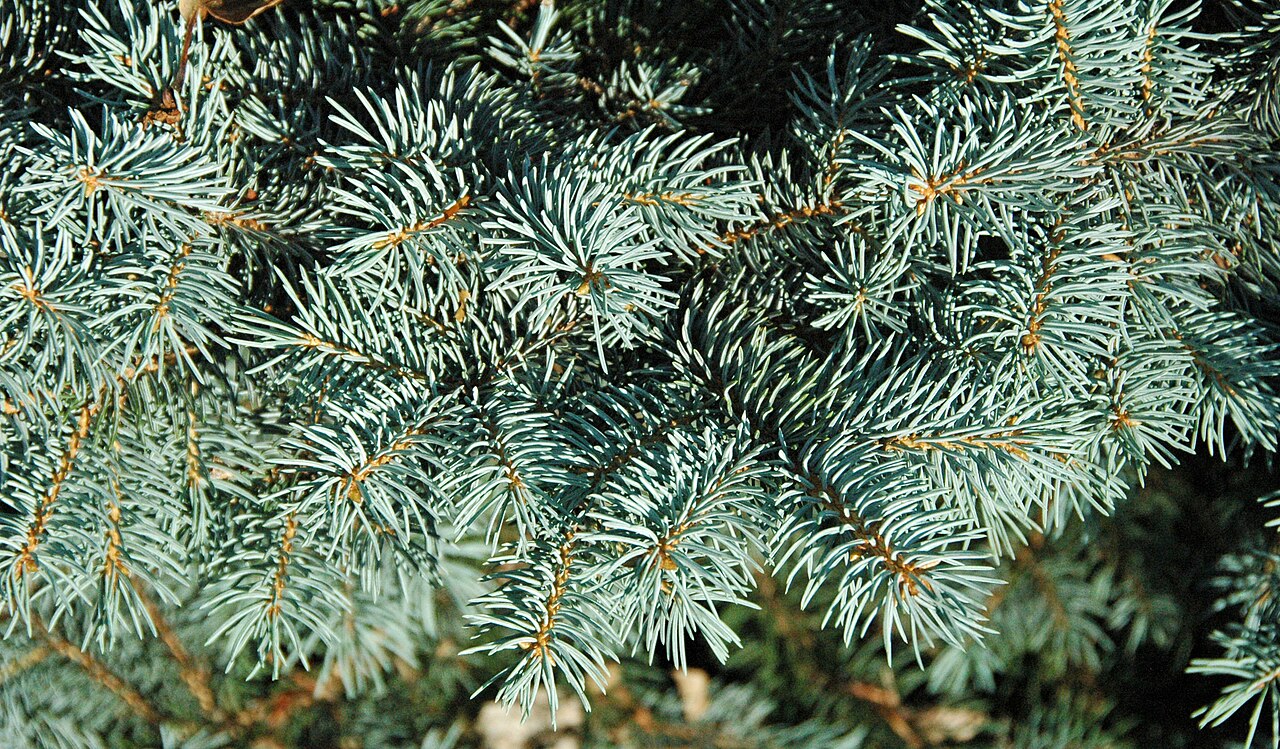
Picea pungens, commonly known as Blue Spruce, is a majestic conifer native to the Rocky Mountains. Known for its striking blue-green needles and pyramidal form, it is a favorite in landscaping and ornamental gardens. Propagating Blue Spruce can be achieved through various methods, each with its own set of requirements, advantages, and challenges. This guide will explore the most effective propagation techniques: seed propagation, cutting propagation, and grafting.
Picea Pungens (Blue Spruce) Propagation Methods:
1. Seed Propagation
1.1. Seed Collection
Collecting seeds from Blue Spruce involves identifying mature cones. These cones typically mature in late summer to early autumn. The seeds are usually harvested when the cones turn brown and begin to open naturally.
- Harvesting Cones: Collect cones directly from the tree or from the ground after they fall. Choose cones that are fully formed and beginning to open.
- Extracting Seeds: Allow the cones to dry in a warm, ventilated space until they open completely. Shake or tap the cones to release the seeds.
1.2. Seed Preparation
Before planting, seeds require certain treatments to enhance germination.
- Cleaning Seeds: Remove the wing-like structures and any debris from the seeds.
- Stratification: Blue Spruce seeds need a period of cold stratification to break dormancy. Place the seeds in a moist medium (such as sand or peat) and store them in a refrigerator at 2-4°C (36-39°F) for 1-3 months.
1.3. Sowing and Germination
After stratification, seeds are ready for sowing.
- Sowing: Plant seeds in a well-draining soil mix, covering them lightly with soil. Maintain consistent moisture but avoid waterlogging.
- Germination Conditions: Place the seed trays in a bright, indirect light environment. Ideal germination temperature ranges from 15-20°C (59-68°F).
- Care: Seeds typically germinate in 3-6 weeks. Keep the young seedlings in a controlled environment until they are strong enough to be transplanted outdoors.
2. Cutting Propagation
2.1. Selecting and Preparing Cuttings
Propagation through cuttings involves using segments of the current year’s growth.
- Selecting Cuttings: Choose healthy, vigorous shoots from the current year’s growth, preferably taken in late summer to early autumn.
- Preparing Cuttings: Trim the cuttings to about 10-15 cm (4-6 inches) in length, making a clean cut just below a node. Remove the lower needles to expose the stem.
2.2. Rooting Hormones and Planting
Using rooting hormones can significantly enhance the success rate of cuttings.
- Applying Rooting Hormone: Dip the cut end of each cutting into a rooting hormone powder or solution to promote root development.
- Planting Cuttings: Insert the treated cuttings into a well-draining potting mix, such as a combination of peat and perlite. Ensure that at least half of the cutting is buried in the medium.
2.3. Rooting Environment and Care
Creating the right environment is crucial for rooting.
- Humidity and Temperature: Maintain high humidity around the cuttings using a humidity dome or plastic cover. Optimal rooting temperature is around 18-22°C (65-72°F).
- Light and Watering: Place the cuttings in bright, indirect light. Keep the soil consistently moist but not waterlogged.
- Monitoring Root Development: Roots should start forming in 4-8 weeks. Gradually acclimate the rooted cuttings to lower humidity before transplanting them into individual pots.
3. Grafting
3.1. Purpose of Grafting
Grafting is often used to propagate Blue Spruce for uniformity and to combine desirable traits.
- Advantages: Grafting can ensure uniform growth characteristics and enhance disease resistance. It’s particularly useful for producing cultivars with unique needle colors or forms.
3.2. Grafting Techniques
Various grafting techniques can be employed, depending on the desired outcome and available resources.
- Scion and Rootstock Selection: Select a healthy scion (the upper part of the graft) and a compatible rootstock (the lower part). Typically, use a hardy rootstock to provide a robust foundation.
- Cleft Grafting: Make a clean cut on the rootstock and insert the wedge-shaped scion into the split, ensuring good cambial contact.
- Whip and Tongue Grafting: Both the scion and rootstock are cut at a slant and joined together. This method is more complex but offers a stronger union and better vascular connection.
3.3. Post-Grafting Care
Proper care after grafting is essential for successful union and growth.
- Securing the Graft: Use grafting tape or wax to secure the graft and prevent desiccation.
- Healing Environment: Place the grafted plant in a controlled environment with high humidity and stable temperatures.
- Monitoring and Maintenance: Keep the graft area clean and monitor for any signs of disease or graft failure. Once the graft is established, gradually acclimate the plant to outdoor conditions.
Conclusion
Propagating Picea pungens can be achieved through various methods, each suited to different needs and skill levels. Seed propagation is ideal for large-scale production, cutting propagation allows for cloning of desirable traits, and grafting combines the best characteristics of both scion and rootstock. By understanding and applying these techniques, gardeners and horticulturists can successfully propagate this stunning conifer, ensuring its presence in landscapes for generations to come.
Share this article


